VR04-创建机器人行走动画
日期:2024年3月29日
书籍:《Unity 2017 虚拟现实开发标准》-人民邮电出版社-9787115507587
VR04-创建机器人行走动画
下载机器人模型
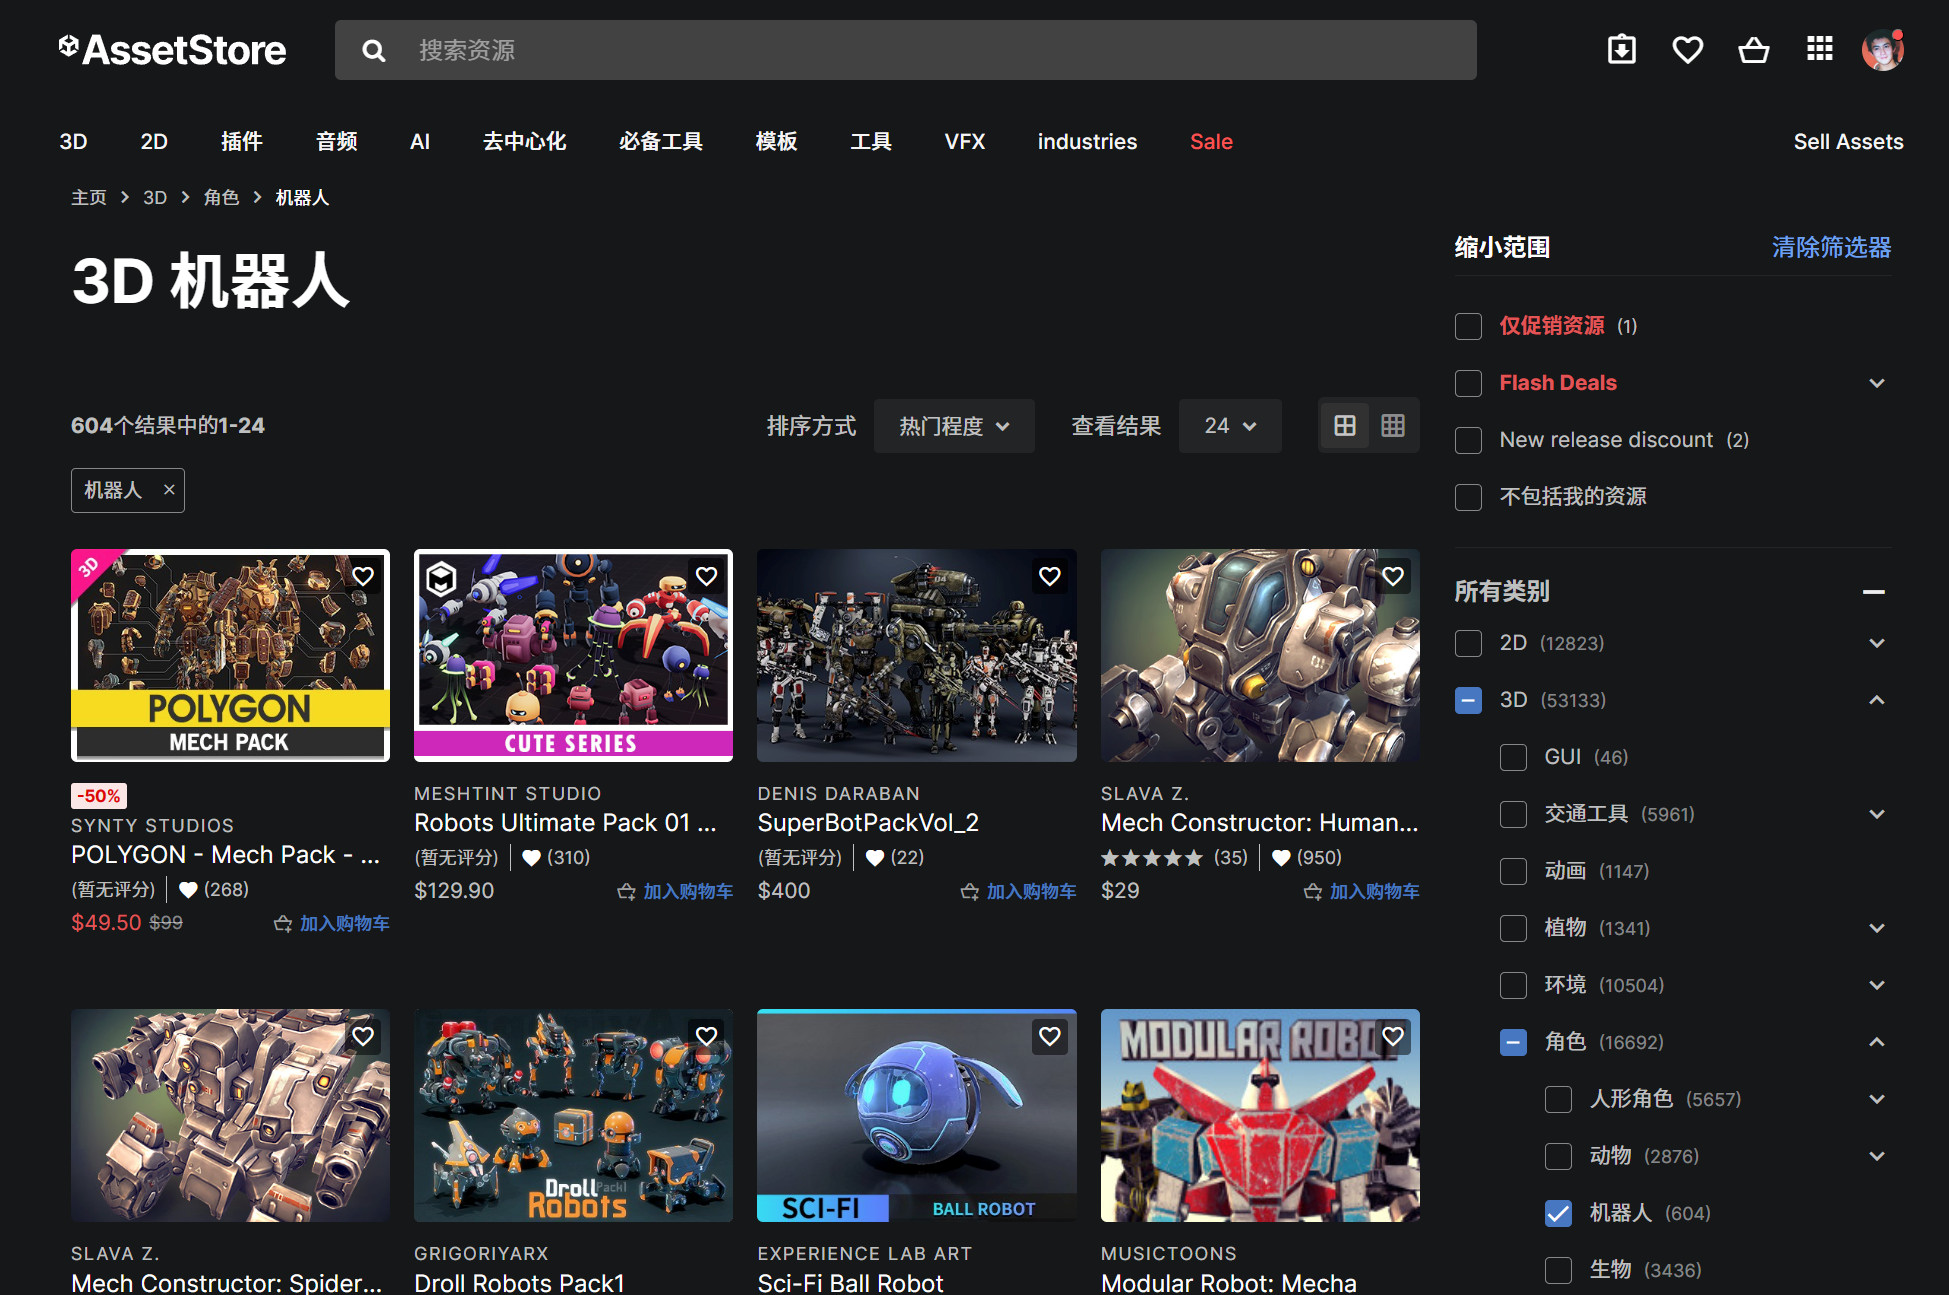
前往 AssetStore 或 SkethFab 下载模型
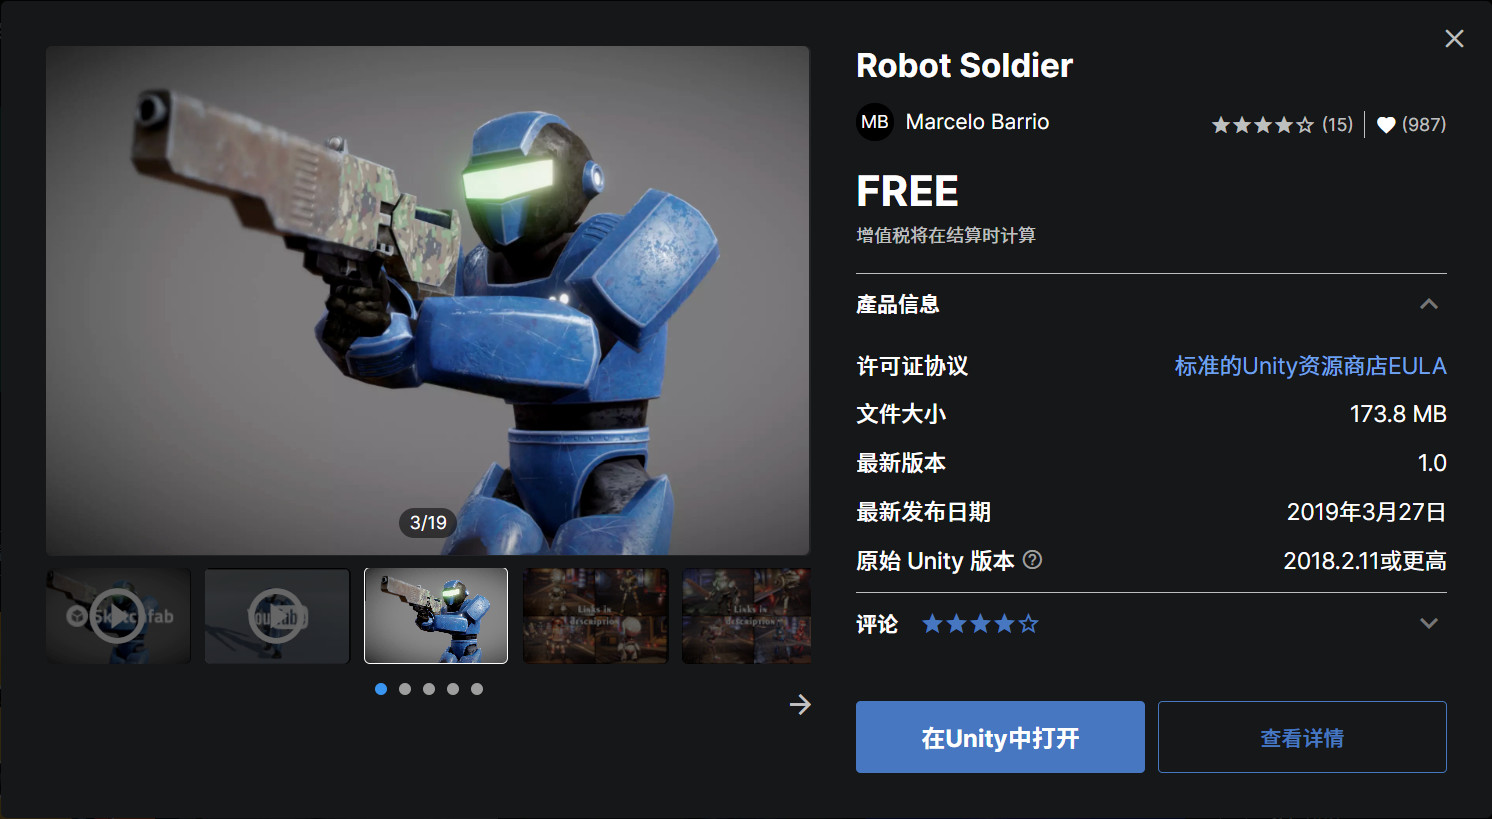
这里以 Robot Soldier 为例
导入 Unity,在 Inspector 面板添加 Rigidbody 和 Capsule Collider
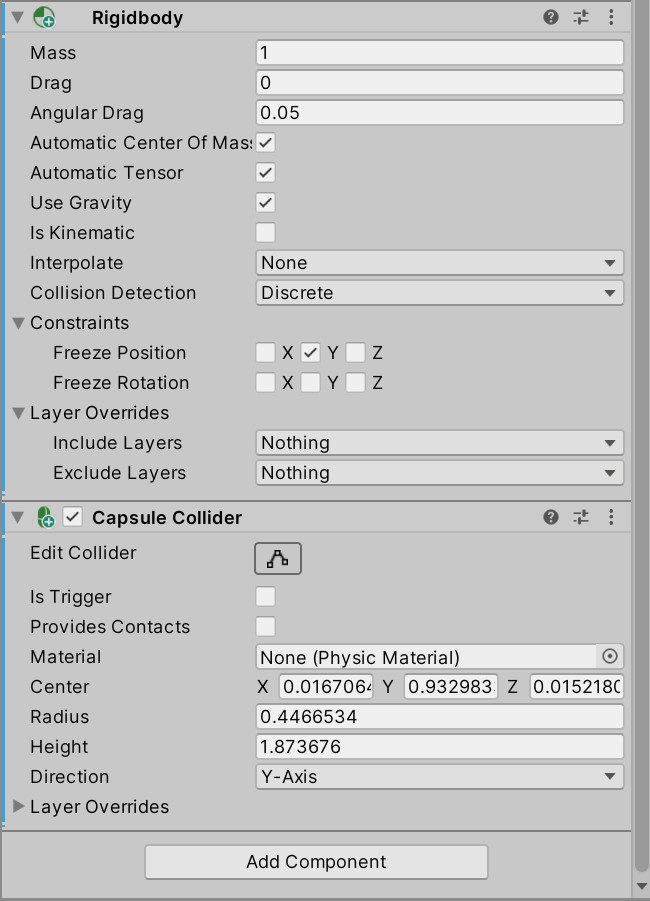
机器人行走动作
将模型上传到 Mixamo,可以自动完成 Rig 绑定,并下载一些标准的行走动作。

在 Project 面板右键 > Animation > Animation Controller
编辑 Animation Controller,将动画拖进去,再把 Controller 绑定在模型的 Animator 组件上。
添加自动寻路
Window > Package Manager > Unity Registry > AI Navigation : Install
给 Robot 添加 Nav Mesh Agent 组件
随便找个物体,最好是地面模型,添加 NavSurface 组件,并 Bake 路径
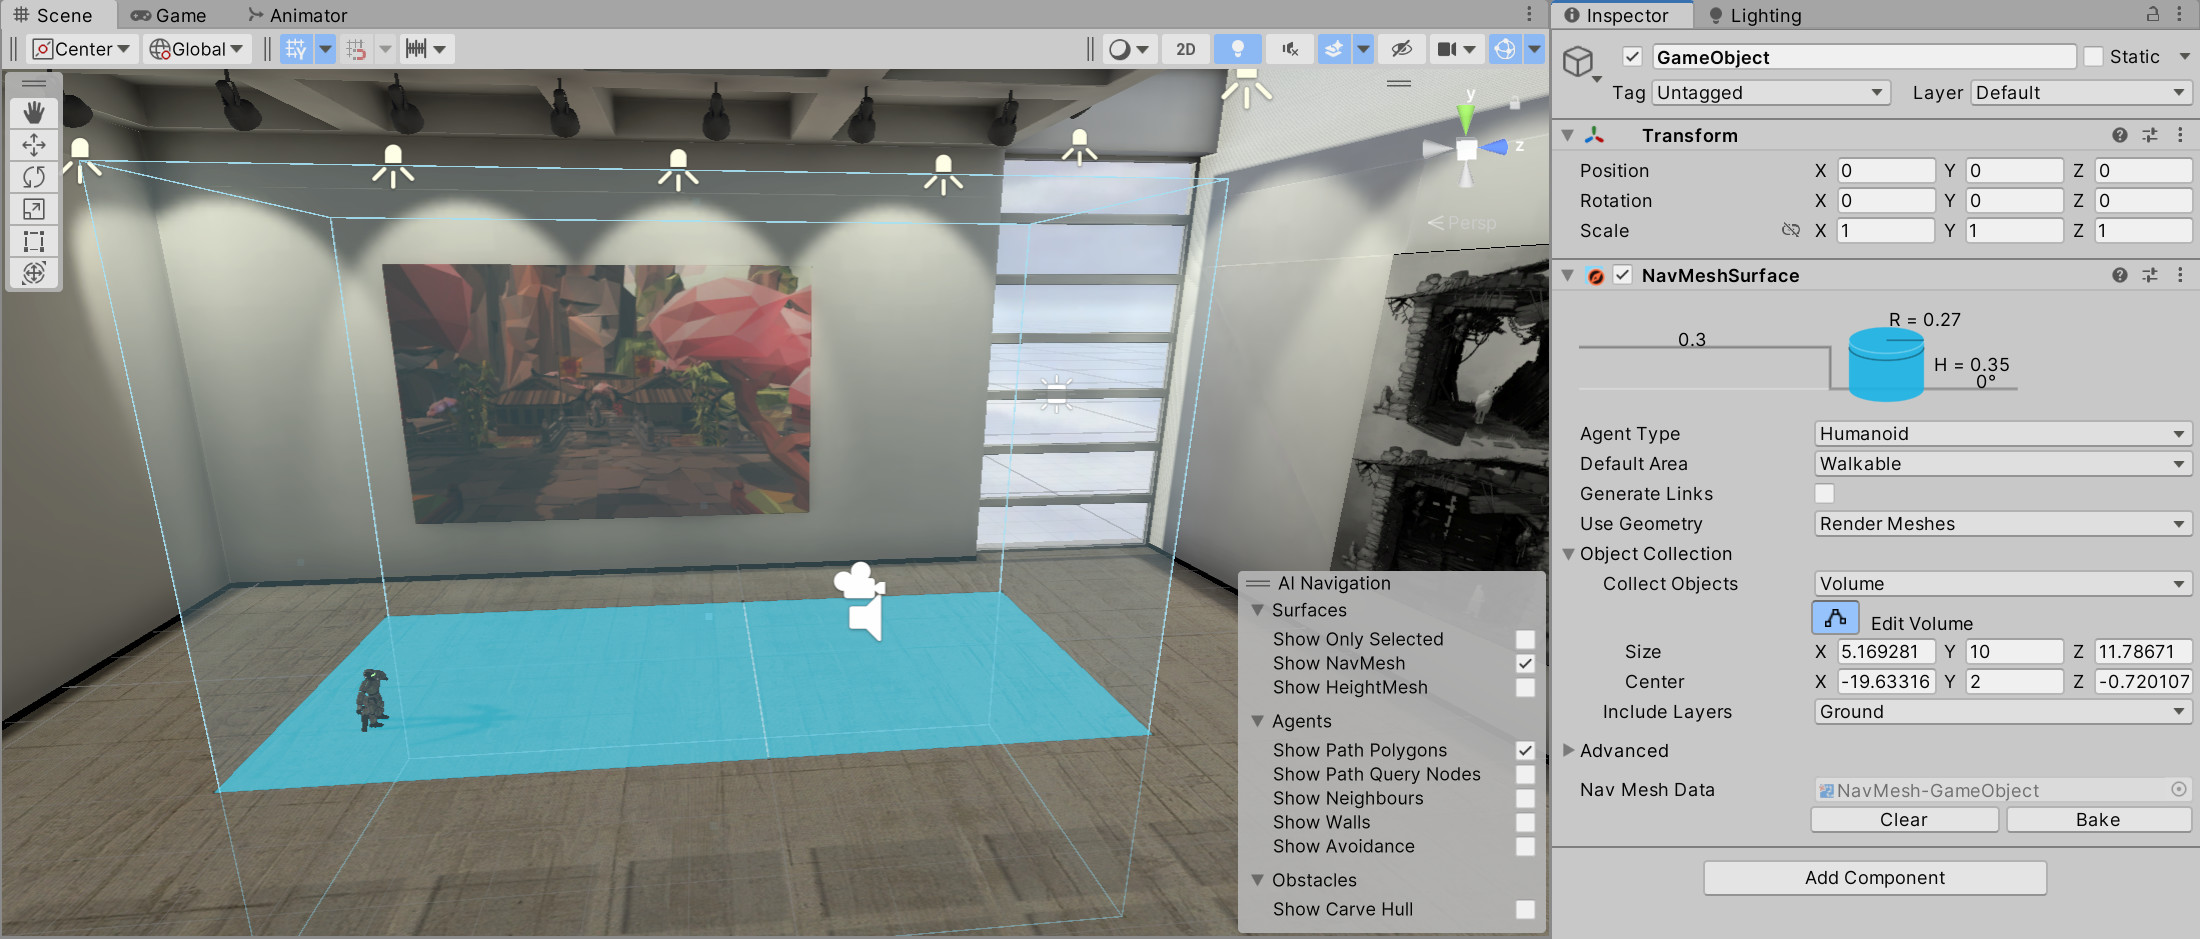
创建脚本 AutoNav.cs 并绑定到 Robot 身上。
引用 Unity 官方的 Sample,脚本内容如下,记得修改类名:
https://docs.unity3d.com/cn/current/Manual/nav-AgentPatrol.html
// Patrol.cs
using UnityEngine;
using UnityEngine.AI;
using System.Collections;


public class Patrol : MonoBehaviour {

    public Transform[] points;
    private int destPoint = 0;
    private NavMeshAgent agent;


    void Start () {
        agent = GetComponent<NavMeshAgent>();

        // 禁用自动制动将允许点之间的
        // 连续移动(即,代理在接近目标点时
        // 不会减速)。
        agent.autoBraking = false;

        GotoNextPoint();
    }


    void GotoNextPoint() {
        // 如果未设置任何点,则返回
        if (points.Length == 0)
            return;

        //将代理设置为前往当前选定的目标。
        agent.destination = points[destPoint].position;

        //选择数组中的下一个点作为目标,
        // 如有必要,循环到开始。
        destPoint = (destPoint + 1) % points.Length;
    }


    void Update () {
        //当代理接近当前目标点时,
        // 选择下一个目标点。
        if (!agent.pathPending && agent.remainingDistance < 0.5f)
            GotoNextPoint();
    }
}
创建两个空物体,并放在要让 Robot 来回走动的位置
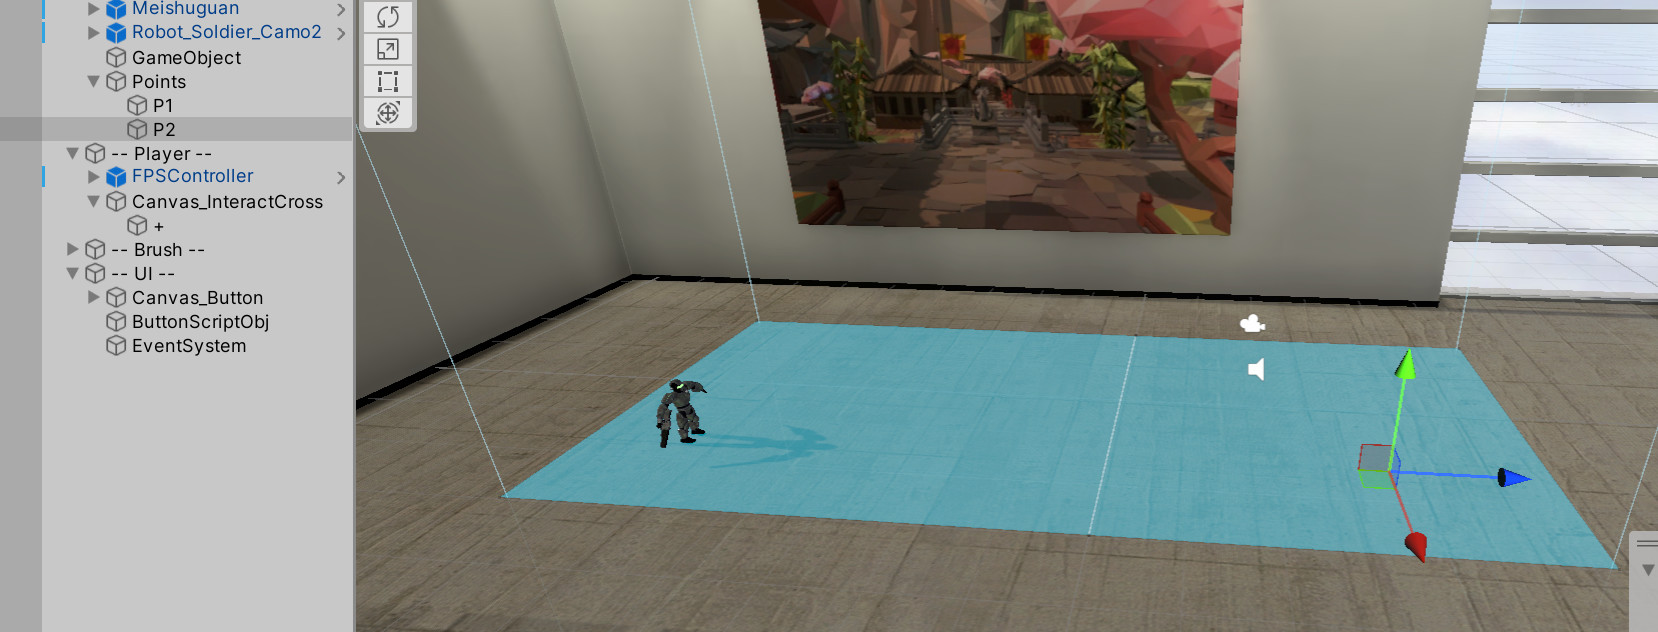
把 P1 和 P2 拖入 AutoNav 组件中。
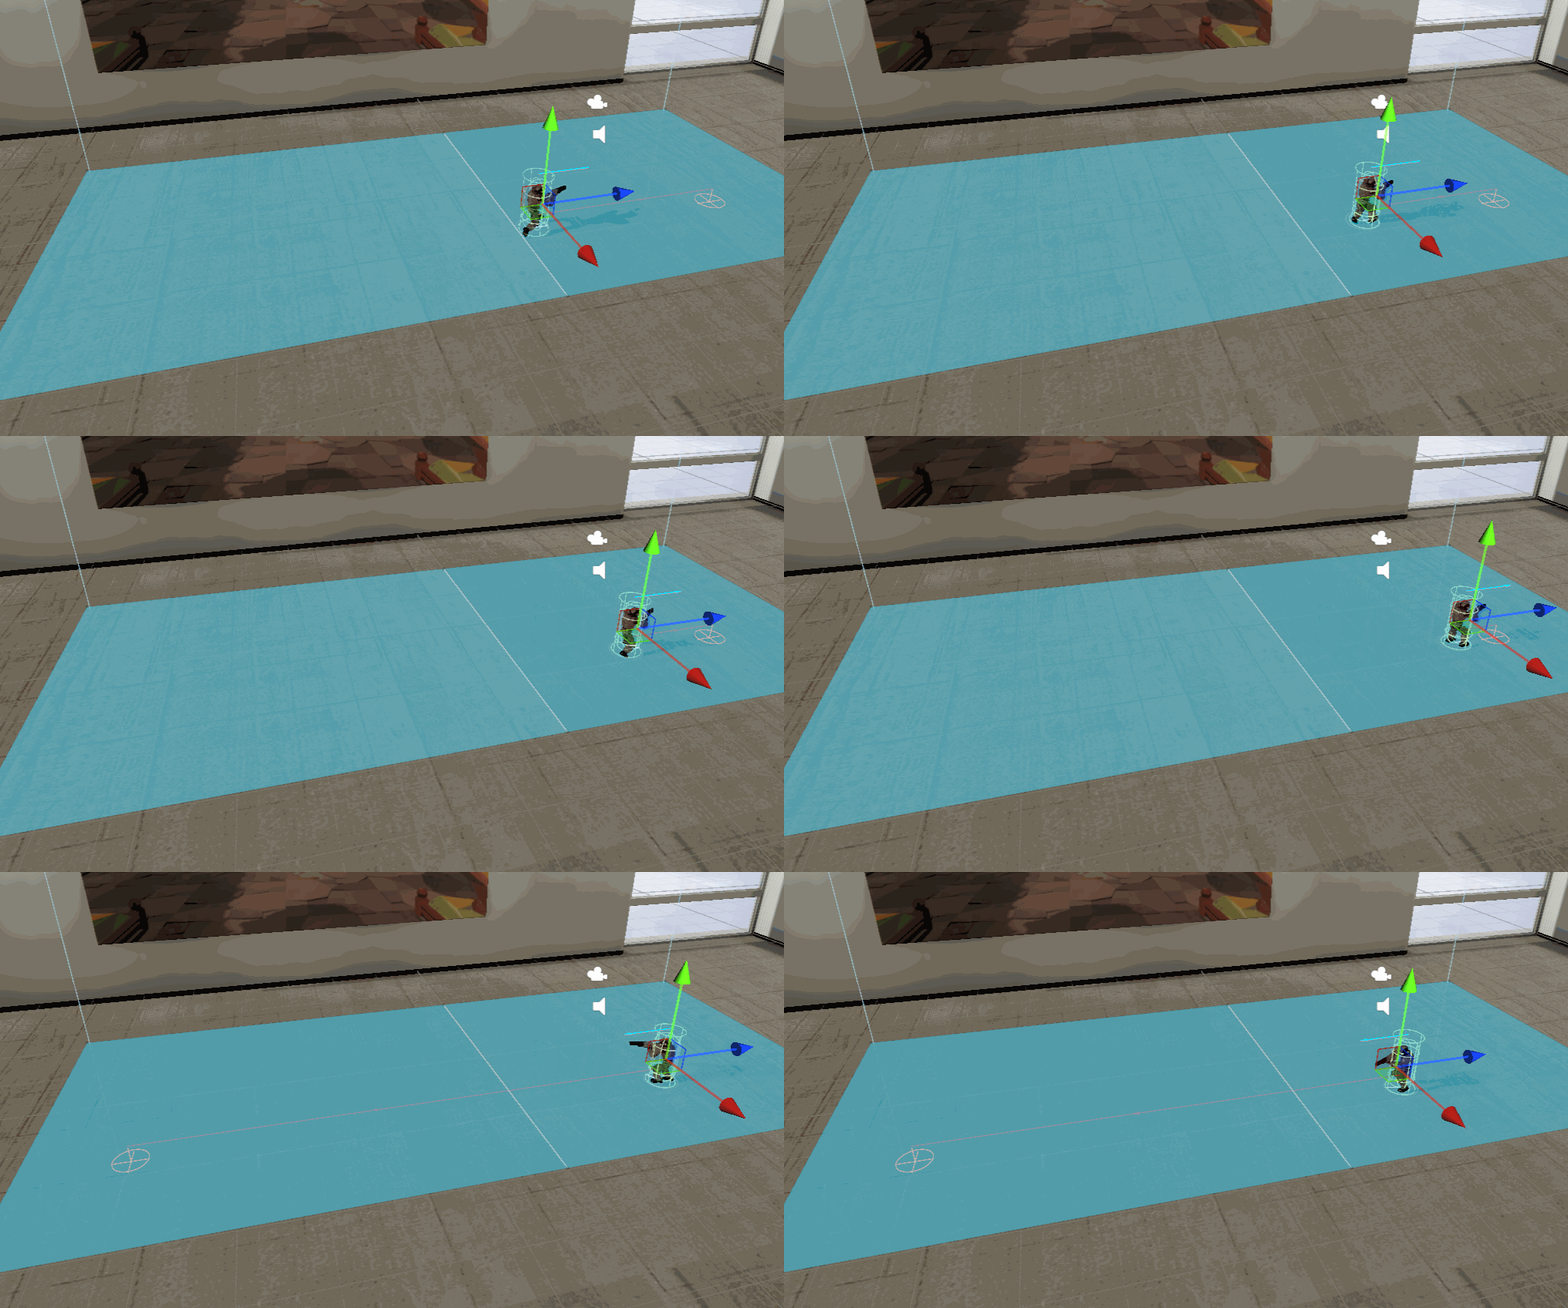
运行游戏,调整 Nav Mesh Agent 组件的 Speed 属性,效果如下:
- 感谢你赐予我前进的力量
赞赏者名单
因为你们的支持让我意识到写文章的价值🙏
本文是原创文章,任何转载都需注明来自 LeonYew
评论
匿名评论
隐私政策
你无需删除空行,直接评论以获取最佳展示效果
